Using Cyclus in the Cloud
Choosing Where to Run
For this tutorial, there are 2 options for places to run the Cyclus simulation.
Our cloud resource where Cyclus is installed.
2. A Jupyter Notebook in the local machine where you have Cyclus installed.
The advantage of using your local machine is that you can determine which version of Cyclus you want to use and if you wanted to include archetypes that are not available on the cloud resource. The advantage of using a remote machine is that you don’t have to install the entire Cyclus toolset on your local machine.
For this tutorial, the cloud resource has been made available at http://cycrun.fuelcycle.org. This is the same resources that is used to run Cyclus from the Cyclus home page. If it is desired to run Cyclus on your local machine, then this section of the tutorial can be skipped.
Execute your Scenario in the Cloud
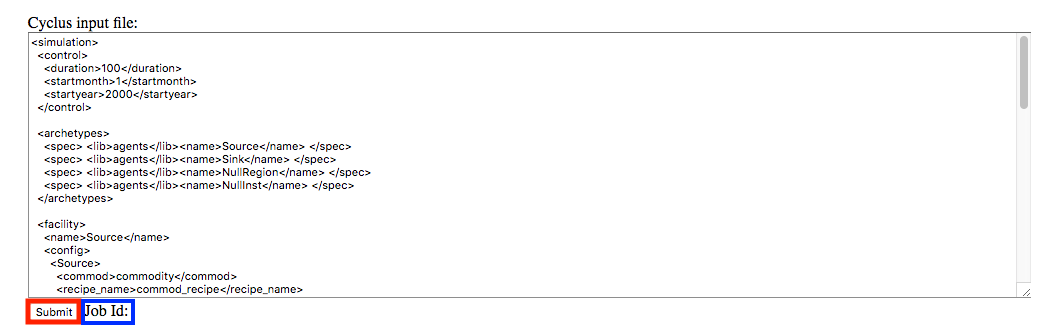
Open the XML input file that you created in Exercise 1
Go to the Server: http://cycrun.fuelcycle.org
Copy and paste the input file content into the window
Click the “Submit” button
This will launch a job and show you the “Job Id”
Retrieve your Results for Analysis
When your simulation in the cloud has finished, it will indicate in the Jobs pane.
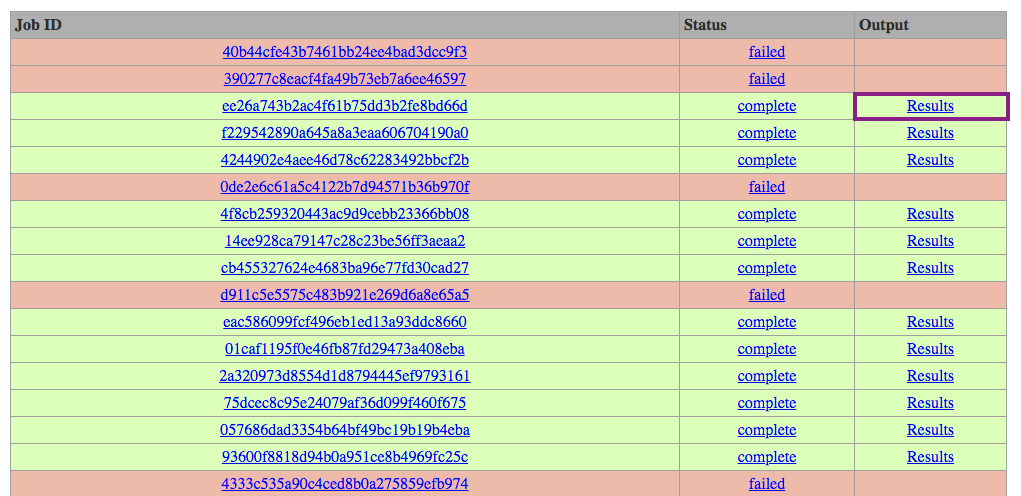
Right-click on the job number’s Output result and download the output file.
Backup: Files for Success
If your run did not succeed, you can retrieve correct input and output files here under input_oncethrough.xml
or ouput_oncethrough.sqlite. This link contains input and
output files for each of the examples in this tutorial.